In the digital age, effective communication with your audience is crucial.
Newsletter forms are a powerful tool for collecting leads and engaging subscribers. However, managing these forms and the data they collect can be a challenge. Fortunately, with the right tools and a little technical know-how, you can streamline the process and enhance your email marketing strategy.
In this blog post, we'll guide you through the steps of connecting a Webflow newsletter form to MailerLite using Webflow logic and APIs.
Prerequisites:
Before we begin, ensure you have the following:
- A Webflow account with a published website.
- A MailerLite account with an active email marketing campaign.
- Basic understanding of Webflow's design and interactions features.
Step-by-Step Guide:
Step 1: Set Up Your Webflow Newsletter Form:
- In your Webflow project, create a new form using the Webflow form element.
- Design the form fields to match your branding and audience preferences.
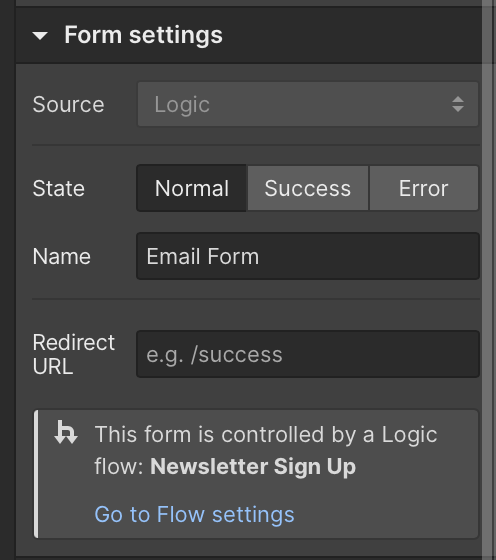
Step 2: Form settings
Go on form settings and set the "source" to Logic.
Step 3: Press logic on the navigation panel.

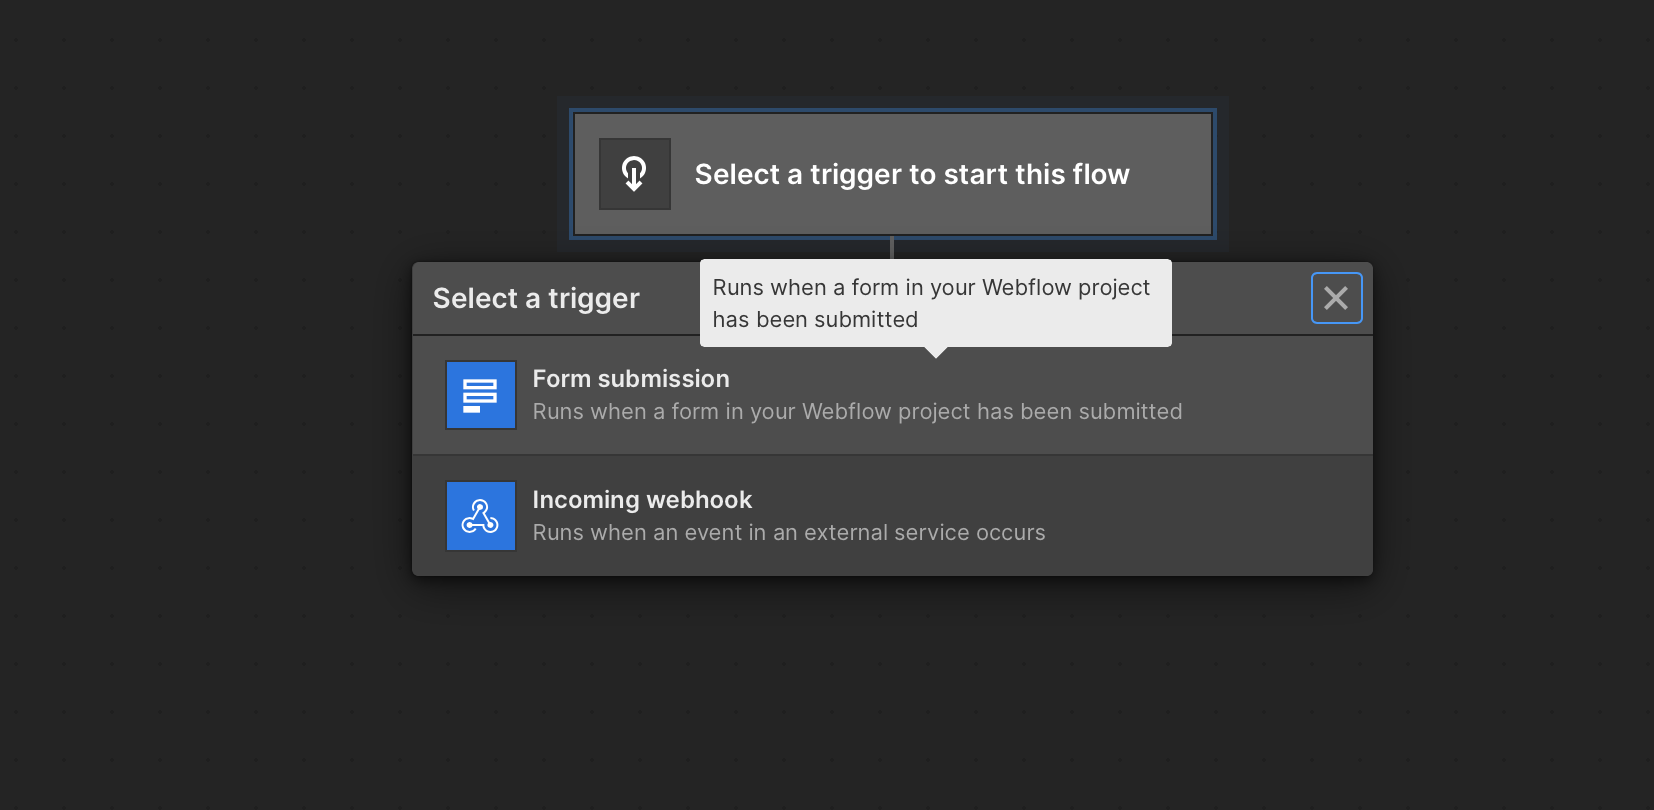
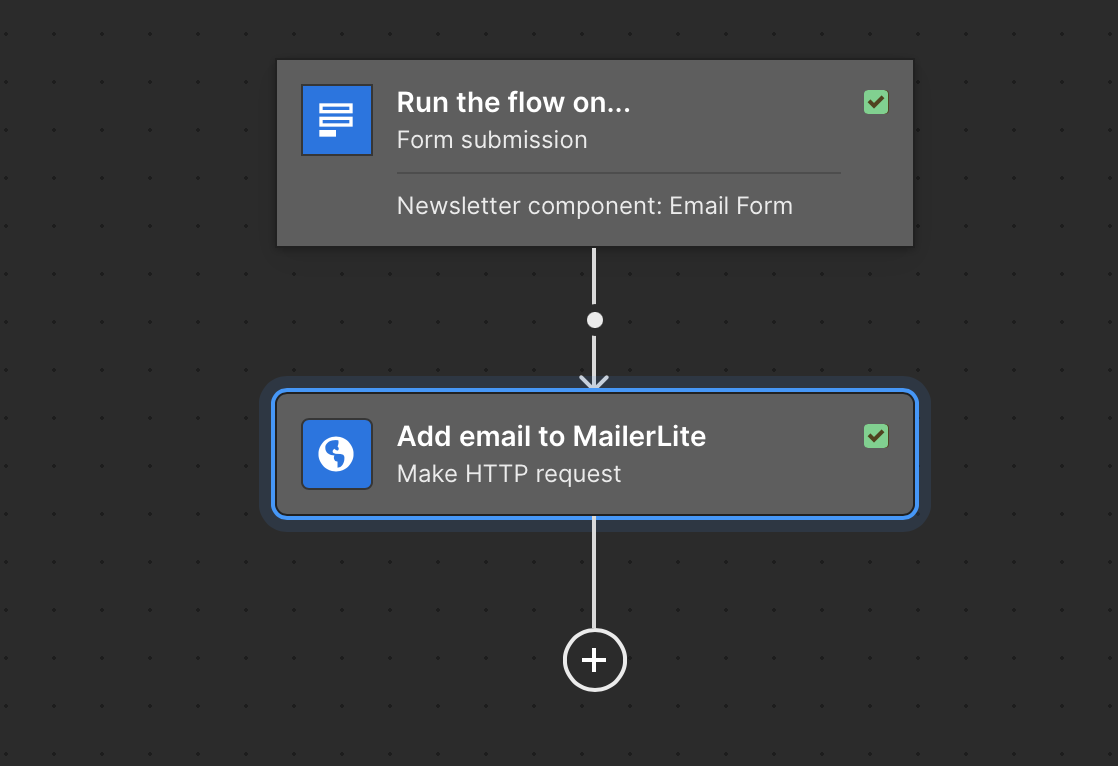
Step 4: Trigger
Select form submission and select the form you would like to submit, its important to name your form e.g "newsletter form" so that you connect the right form to Mailerlite.
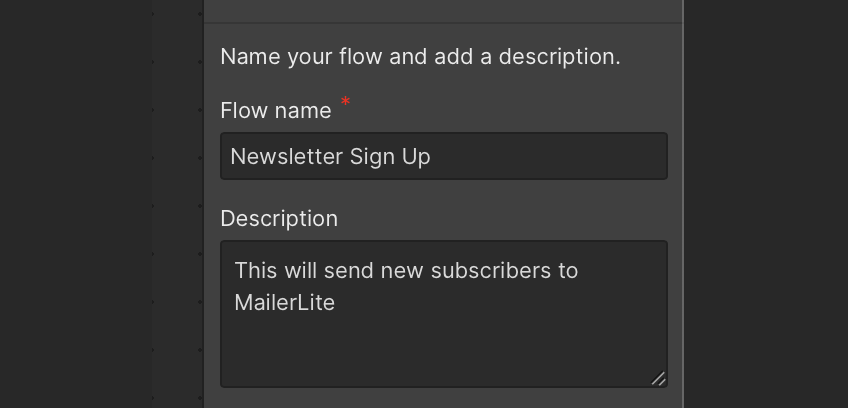
Step 5: Name your flow name and description
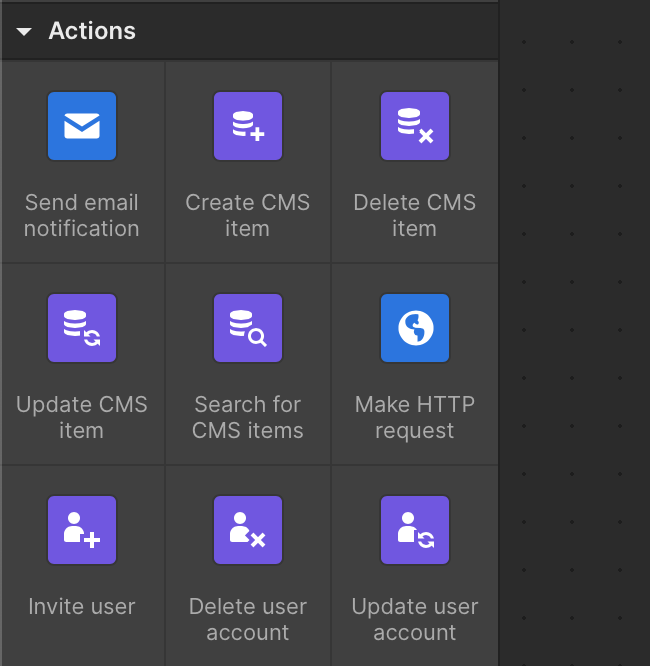
Step 6: Select Make HTTP request
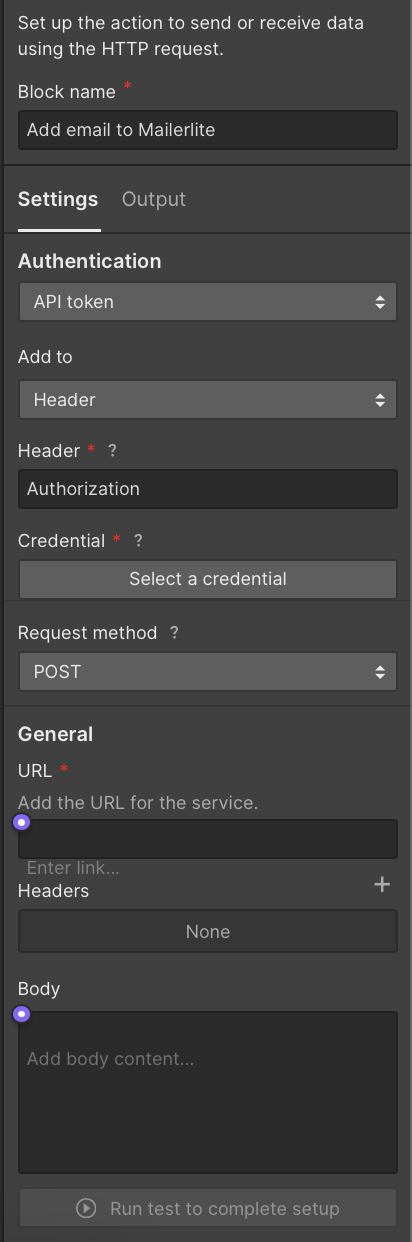
Step 7: Configuration of the HTTP request settings
Add the block name, set the Authentication to API token, Add to "Header" and the "Header" should be "Authorization". The Request method should be "POST" not "GET".
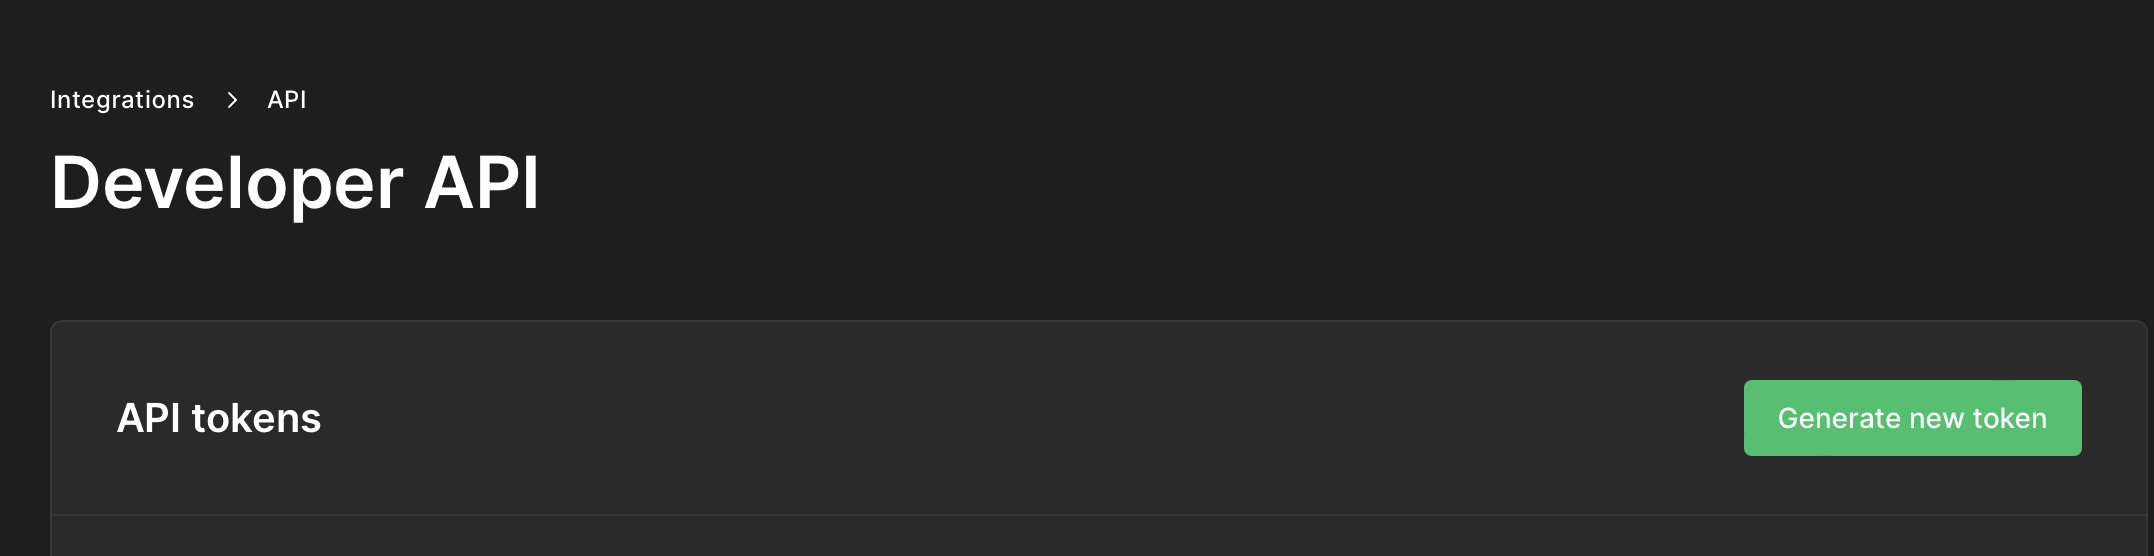
Step 8: Getting the MailerLite API Token
When you click on the "Credentials" it will ask you for the API token.

To the get the MailerLite API Token go on to Integration in the side panel to generate your API token.
You would need copy and paste the token somewhere as you will not be able to see once you have generated it. Before pasting the API token above, make sure to include: "Bearer XXX" where XXX is your token. It's case sensitive so it should be capital B and there should a space.
Step 9: Complete the rest of the HTTP request settings
Once you have pasted the API token in the Credentials part as shown above, copy and paste the following URL to the "Add the URL for the service section"
https://connect.mailerlite.com/api/subscribers
Then set the Headers to Content-Type : application/json.
The body is where the relevant data will be passed from the Webflow form to your Mailerlite account. If you have created groups in Mailerlite, to get the group id you can get this in the group's URL which is a long digit number, not the whole URL.
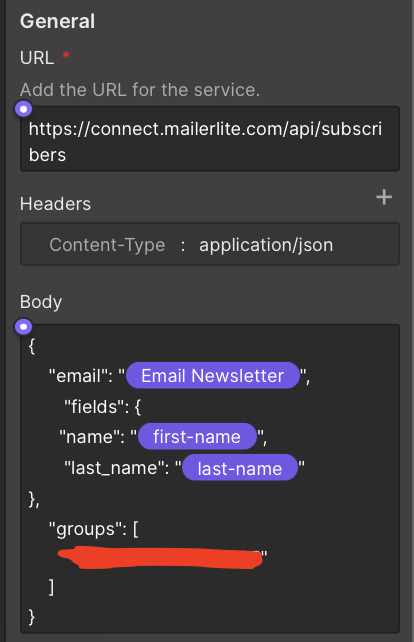
Copy and paste the following code in the body and fill in placeholders with the dynamic fields:
{
"email": "dummy@example.com",
"fields": {
"name": "Dummy",
"last_name": "Testerson"
},
"groups": [
"4243829086487936"
]
}
Step 10. Run tests
You can run a test if its working properly.
To see a more detailed guide and the API documentation for Mailerlite visit: getting started
Found this article helpful?
Don't miss out on the latest updates, tips, and insights delivered straight to your inbox.
Subscribe to our newsletter now and stay ahead in the world of web design and development.
Did you find this article helpful?
Give it a thumbs up!

In this blog we explore how incorporating custom code into your Webflow projects can enhance functionality, flexibility, and creative possibilities that will take your design to new heights.

To maximise your productivity and streamline your workflow in Webflow, we've compiled a set of essential tips and tricks that will enhance your efficiency.

Webflow's intuitive interface and responsive design tools make it an ideal platform to build adaptive and visually appealing websites.