What You’ll Need
Before we dive in, make sure you have these ready:
- A Claude AI account (you can use the free version, but we recommend Pro for the best results)
- A Webflow CMS site
- Access to Webflow API (guidance on this given below)
- Node.js installed on your computer (see the step below for how to install it)
Step 1: Download the Claude App

This where we will access developer settings and then to later see if webflow has been connected.
Step 2: Install Node.js
you’ll need Node.js installed to run the scripts properly. If you haven’t installed it yet, follow these steps:
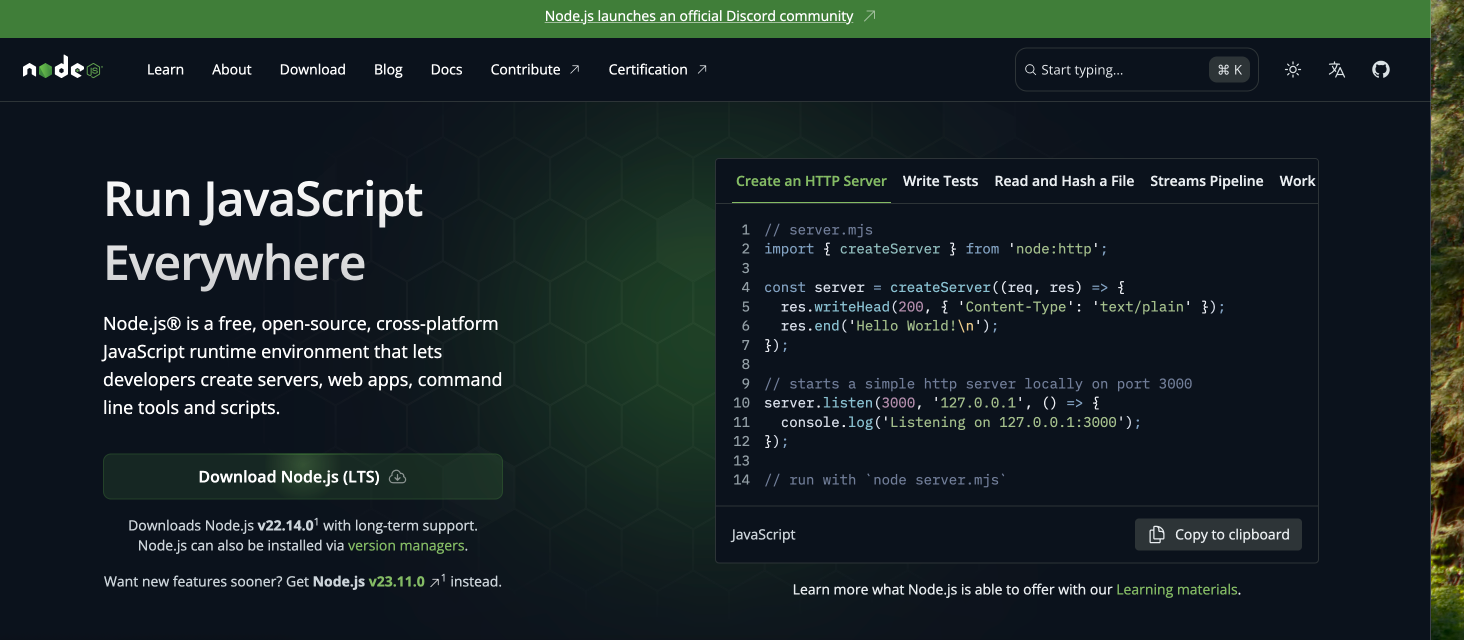
- Go to the Node.js website.
- Download the latest stable version (LTS).
- Follow the installation instructions for your operating system.
Step 3: Get Your Webflow API Access
Head over to this Webfow page: https://developers.webflow.com/data/reference/token/introspect
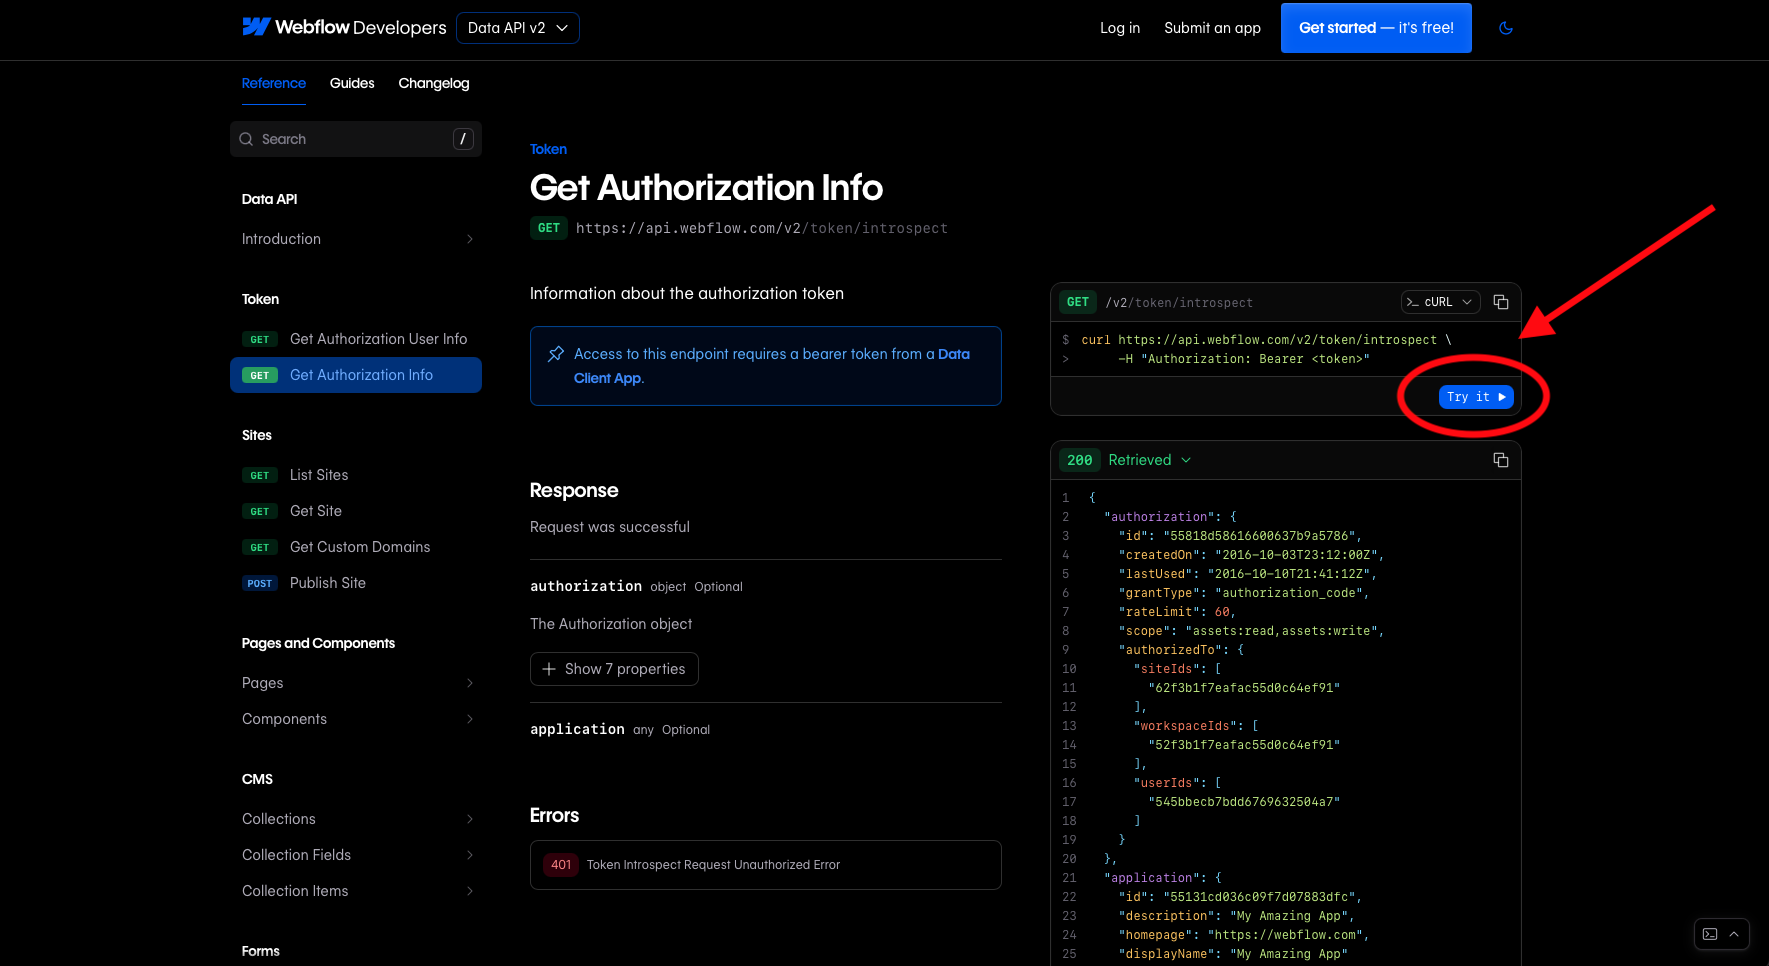
Press on "Try it", it wil promt you to log into your webflow account, then select your workspace and webflow will geenrateyour webflow api token on the right hand side. Make sure to press the TypeScript code to see your api token.
Pro Tip: Don't share your API token with anyone! It’s like your site’s secret key.
Next, we need the Collection ID for your blog or content collection (the place where your posts live in Webflow).
- Open your Webflow site, go to the CMS tab, and find the collection you’ll be posting to (e.g., "Blog Posts").
- Copy the Collection ID — this is the ID you’ll use in your script.
Step 4: Set Up Claude AI for Content Generation
Now comes the fun part — using Claude to generate content!
Claude's AI Prompts
Let’s get Claude to write something for us. You can use a simple prompt like:
Write a blog post on: "How AI is Changing Freelance Web Design"
Claude Response Format:
You want Claude to return:
- Title (max 60 chars)
- Meta Description (max 160 chars)
- Summary
- Blog Body (under 400 words)
- Format as JSON.
5
Step 5: Send the Content to Your Webflow CMS
Now we’ll automate the process of posting this content to your Webflow site using the Webflow API.
Here’s a simple script in Node.js to send your generated content to Webflow:
Node.js Script Example:
const axios = require('axios');
const WEBFLOW_TOKEN = 'your_webflow_token';
const SITE_ID = 'your_site_id';
const COLLECTION_ID = 'your_collection_id';
async function postToWebflow(content) {
const res = await axios.post(
`https://api.webflow.com/collections/${COLLECTION_ID}/items`,
{
fields: {
name: content.title,
slug: content.title.toLowerCase().replace(/\s+/g, '-'),
metaDescription: content.meta_description,
summary: content.summary,
body: content.body,
},
},
{
headers: {
Authorization: `Bearer ${WEBFLOW_TOKEN}`,
'Content-Type': 'application/json',
},
}
);
console.log('✅ Published to Webflow:', res.data);
}
How to Run the Script:
- Install the required Node.js packages (like Axios for making requests)
- Replace
your_webflow_token,your_site_id, andyour_collection_idwith your Webflow credentials. - Run the script whenever you want to automatically post your content.
Step 4: Test It and Go Live!
Now that everything’s set up, run your script and watch the magic happen! You’ll see your Claude-generated content automatically appear in your Webflow CMS.
Pro Tip: Make sure to check the published post for formatting before pushing too many posts live.
Wrapping Up
And there you have it! You’ve just connected Claude AI to your Webflow CMS, and now you can generate SEO-friendly blogs, service pages, and more automatically. Simple, right?
By setting this up, you're not just saving time, but you're also using cutting-edge AI to improve the way you create content — and at Simpliciti Designs, we love that combination of smart and simple.
Did you find this article helpful?
Give it a thumbs up!

Discover the magic of building websites with Webflow by using 10 useful tools and integrations. From search and login to 3D and languages, learn how to improve your projects with ease.

In this article, we discuss building an online course platform using no-code platforms such as Webflow, Wized, Xano and Firebase.

With Webflow's new no-index toggle, you can easily optimize site crawlability within the visual editor. In this post, we'll explore how no-indexing works and how to use it in Webflow.